移行経緯
今まで Microsoft Teams でコネクタから作成できる Incoming webhook というもので PHP から通知できる BOT を作成していましたが、
下記のような警告が表示されるようになりました。
Action Required:
O365 connectors within Teams will be deprecated and notifications from this service will stop.
Learn more
about the timing and how the Workflows app provides a more flexible and secure experience. If you want to continue receiving these types of messages, you can use a workflow to post messages from a webhook request.
Set up workflow
Teams の Office365 のコネクタは非推奨となり、停止されるとのこと。
今回はワークフローの設定をして Webhook リクエストからメッセージの投稿ができるように設定していきます。
Power Automate の設定
フローの作成
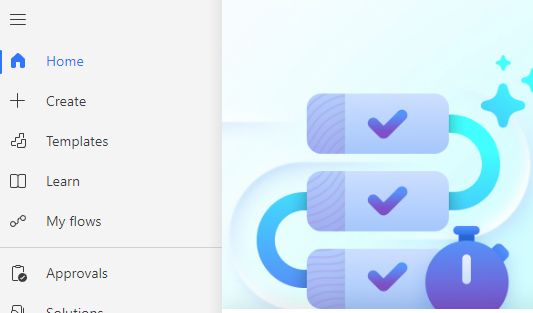
Office のページから Power Automate を選択すると、下記のようなメニューがあると思いますので「Create」を選択します。
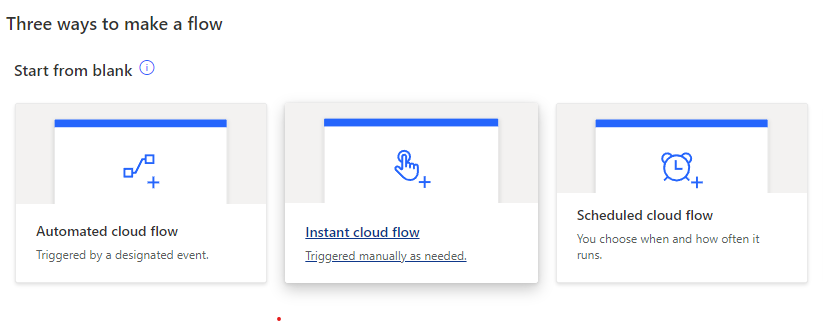
次に「Instant cloud flow」を選択します。
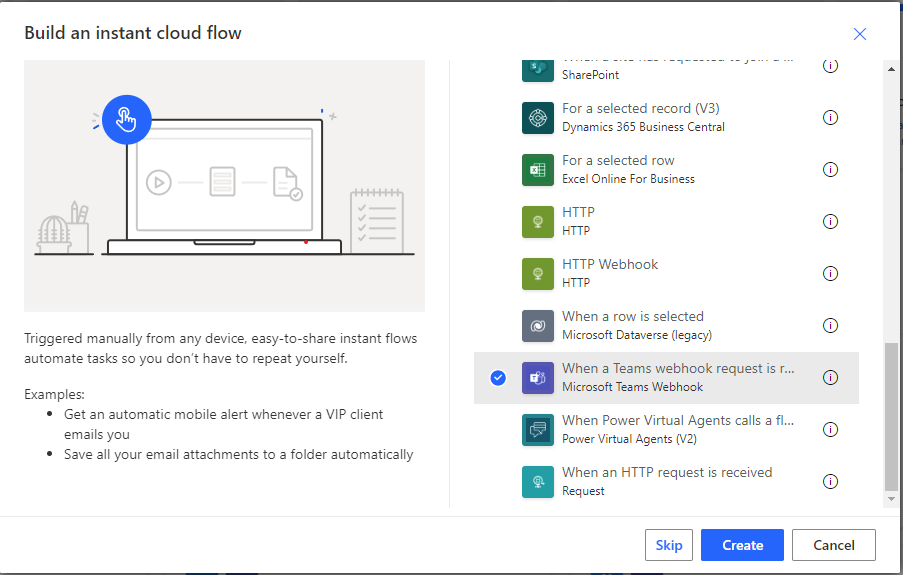
「When a Teams webhook request is received」を選択して「Create」を押して続行します。
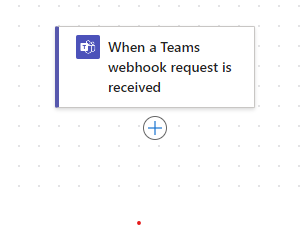
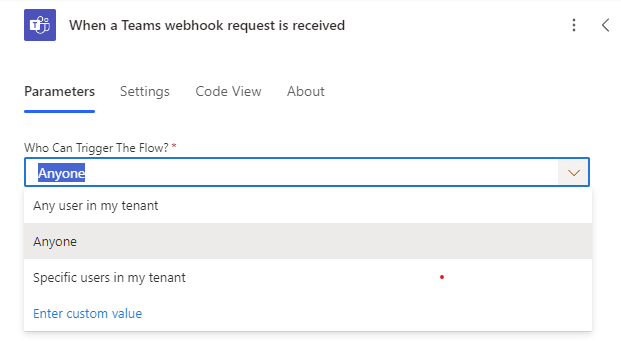
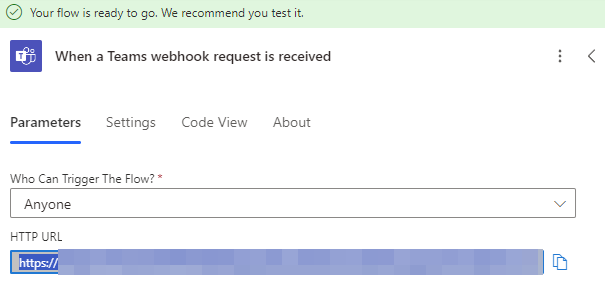
下記のような画面になると思いますので、「When a Teams webhook request is received」と書いてあるカードをクリックします。
「Who Can Trigger The Flow?」のところを「Anyone」にしておきます。
アクションの追加
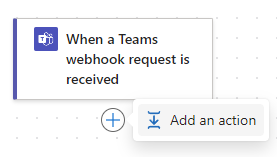
次に「+」のアイコンをクリックして「Add an action」で追加のアクションを作成します。
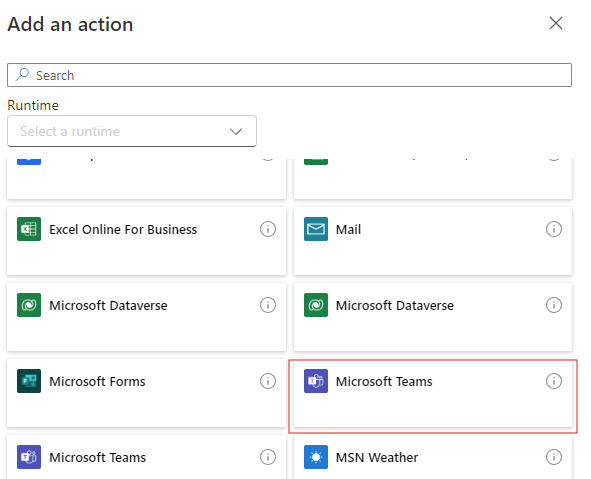
「Microsoft Teams」を選択します。
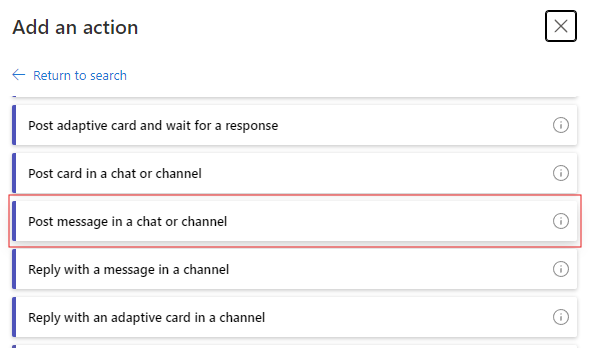
「Post card in a chat or channel」というアクションを探してクリックします。
アクションの設定
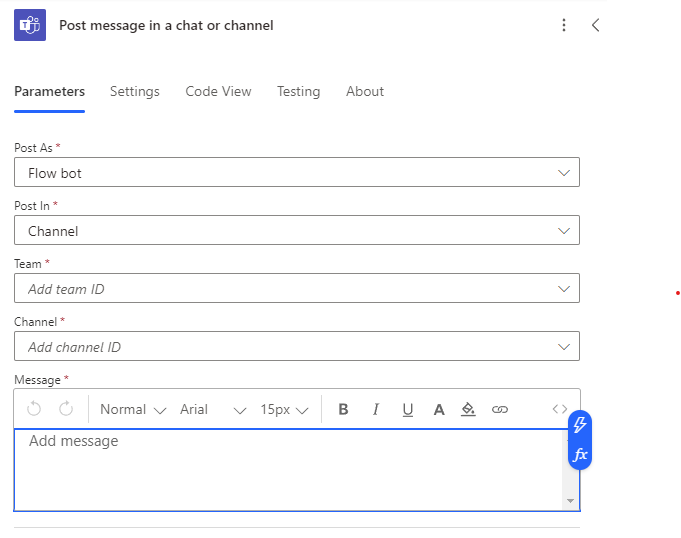
下記のような画面になるので、それぞれ設定をしていきます。
今回は指定チャンネルに POST するので下記のように設定していきます。
| 項目名 | 設定 |
|---|---|
| Post As | Flow bot |
| Post In | Channel |
| Team | 投稿したいチーム |
| Channel | 投稿したいチャンネル |
| Adaptive Card | ⚡️ のようなアイコンをクリックして「Attachments Adaptive Card」を選択 |
フローの保存
最後に「Save」をクリックしてワークフローを保存します。

エンドポイントの取得
保存後に、再度「When a Teams webhook request is received」のカードをクリックすると「HTTP URL」にエンドポイントが表示されているのでコピーする
PHP から POST する
下記 URL を参考にパラメータを作成して POST していきます。
先程のエンドポイントの URL を curl で叩いて実行します。
$curl = curl_init();
// 送るメッセージ
$message = "#送りたいメッセージの内容";
$data = json_encode(
    [
        "type" => "message",
        "attachments" =>  [
            [
                "contentType" => "application/vnd.microsoft.card.adaptive",
                "content" => [
                    "type" => "AdaptiveCard",
                    "body" => [
                        [
                            "type" => "TextBlock",
                            "text" => $message,
                        ]
                    ]
                ]
            ]
        ]
    ]
);
curl_setopt($curl, CURLOPT_URL, "[エンドポイントのURL]");
curl_setopt($curl, CURLOPT_HTTPHEADER, [
    'Content-type: application/json',
]);
curl_setopt($curl, CURLOPT_POST, true);
curl_setopt($curl, CURLOPT_POSTFIELDS, $data);
curl_setopt($curl, CURLOPT_RETURNTRANSFER, true);
curl_exec($curl);
$statusCode = curl_getinfo($curl, CURLINFO_HTTP_CODE);
curl_close($curl);

if (!($statusCode >= 200 && $statusCode < 300)) {
    throw new Exception('送信に失敗');
}
これで Power Automate 側で設定していた指定のチャンネルに投稿できるようになったかと思います。